
Tulle material is inexpensive and simple to work with. It is often used for ceiling canopies in wedding receptions, ballrooms and proms because of its economic advantage. Decorators save money by decorating with tulle and use the excess funds for other important features of the event, such as menus. Using a tulle tent ceiling for event decorating saves money because of the cheap price of the material and the fact that you can do it yourself and cut out the labor costs of high-end decorators.
Supporting Structure
Video of the Day
Step 1
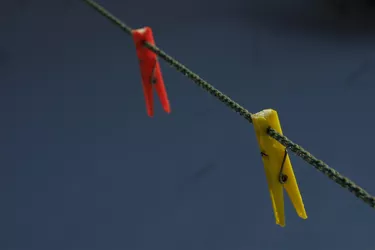
Measure the length of the room. Cut a piece of clothesline measuring the length of the room plus 2 feet, leaving enough line to work with. Measure the width of the room, and write it down.
Video of the Day
Step 2

Mark the center of each wall on the two ends of the length of the room. Measure 6 inches from the top of the wall, in alignment with the center mark, and drill pilot holes.
Step 3
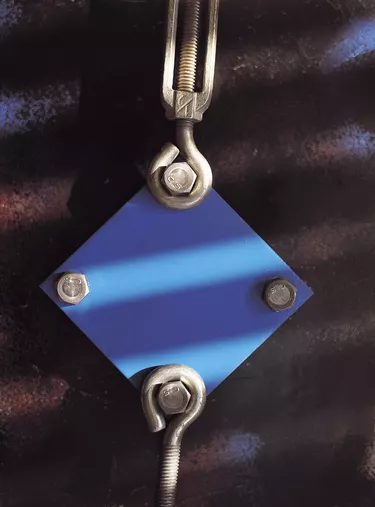
Insert a screw anchor into each pilot hole and then screw an eye screw into each anchor. Tie one end of the clothesline to an eye screw. Pull the other end of the clothesline to the opposite side of the room, keeping it tight, and tie the end to the opposite eye screw.
Step 4
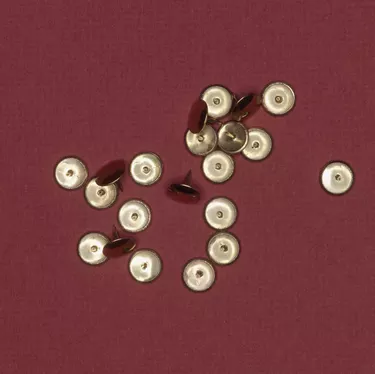
Multiply the length of the room by two, and cut a strip of tulle to that length. Tack one end of a strip to the wall with a thumbtack where the clothesline meets the wall. Twist the excess tulle around the clothesline down the length of the room, and tack the end piece to the opposite wall at the clothesline attachment.
Tent Ceiling
Step 1

Multiply the total width of the room by three to determine the size of each tulle panel needed to swag across the room. Cut enough tulle panels to this size to hang down the length of the clothesline from one end of the room to the other. Mark the middle of each panel with a fabric pen.
Step 2
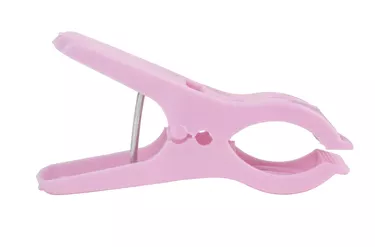
Drape a tulle panel over the clothesline at one end of the room to form a V-shaped tent ceiling. Line up the center mark of the tulle to lie parallel with the clothesline. Clip the center of the tulle to the top of the clothesline with a plastic clothespin.
Step 3
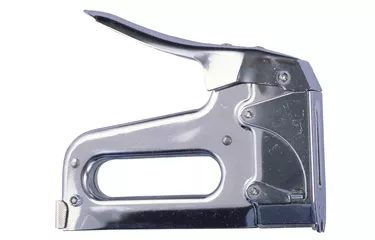
Take one end of the tulle, and walk to the wall perpendicular from the clothesline. Staple the tulle 6 inches from the ceiling with a staple gun, allowing the tulle to drape loosely between the clothesline and the wall attachment. Attach the other end of the tulle to the opposite wall with the staple gun.
Step 4
Follow the procedures in Steps 4 and 5 until all tulle panels are hanging over the clothesline. Gather the excess tulle hanging from each stapled wall attachment, and bunch it up to form a large tuft of tulle. Staple the tuft to the wall over the original attachment, and fluff the material to hide the staples.
Things You'll Need
Ladder
Tape measure
Scissors
Drill
Drill bits
Screw anchors
2 eye screws
Clothesline
Tulle
Thumb tacks
Clothespins matching the color of the tulle
Fabric pen
Staple gun with staples