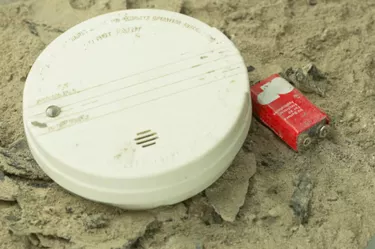
It may sound dramatic, but a smoke alarm really can mean the difference between life and death. If a fire starts in your home, the extra time a smoke alarm gives you to escape and call the fire department can also limit the amount of damage done to your property. If you're a landlord, it's your responsibility to make sure a working smoke alarm is installed in your property before a tenant moves in. The Norton smoke alarm is easy to install and is a good replacement for existing alarms that may have seen better days.
Step 1
Select a location to install your fire alarm. You should chose a spot in the middle of one of your ceilings, away from any sources of draft.
Video of the Day
Step 2
Set up your stepladder below the location you've chosen to install your alarm.
Step 3
Remove the cover from your alarm and hold the back panel in position on your ceiling.
Step 4
Make marks on your ceiling through the screw holes on the back panel of the alarm.
Step 5
Drill holes into the ceiling where you made marks with the pencil.
Step 6
Insert rawl plugs into the holes you drilled and screw the back panel of the fire alarm into place. You need to make sure that you're using the right type of rawl plugs for the material your ceiling is made out of.
Step 7
Connect the free battery that came with your alarm and secure the front panel into pace.
Step 8
Hold the test button to make sure the alarm is working correctly. The alarm will sound if it is. If the alarm doesn't work, remove the front panel and check that the battery is connected properly.
Tip
You should install a separate smoke alarm on each level of your property. Although the Norton fire alarm features a low battery indicator, you should replace the battery in your smoke alarm at least once a year.
Things You'll Need
Stepladder
Drill
Rawl plugs
Screwdriver
Video of the Day