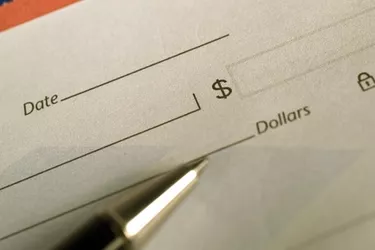
Creating checks at home is good way to save a little bit of money and to make sure you always have a check on hand. No matter how many checks you write, having to dispose of old checks after moving or changing banks is a hassle. In addition, when you unexpectedly run out of checks you can find yourself in a tough spot. By printing your own checks, it is easy to avoid these pitfalls.
Step 1
Find a check printing program. Most office programs, like QuickBooks or Peachtree, have check printing built in. If you don't have one of these programs, then ezCheckPrinting offers both a free and reasonably priced pay version.
Video of the Day
Step 2
Locate specialized paper and ink for your laser printer. These are easy to find online or in large office-supply stores.
Step 3
Record your banking information, such as your account and routing number and the full proper name of the bank.
Step 4
Print a single test check and compare it to a bank-printed check to look for errors.
Tip
If you want to be certain that your check is correct, take it into your bank and show it to the teller. She will likely spot any problems you may have missed.
It is possible to make checks with an inkjet printer but the ink is easier to alter and most of the check-writing products are designed specifically for a laser printer.
Things You'll Need
Laser printer
Check paper
Magnetic ink
Video of the Day