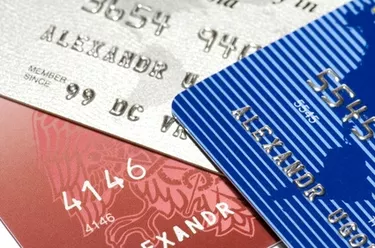
How to Skin a Credit Card. A credit card skin is a thin sticker type cover you can put on your credit card to personalize it. Using a skin you can make the card look however you choose, instead of keeping the original bland look. The thin skin does not affect how your card works and you can still use it in an ATM machine. Order premade skins online or create your own design.
Step 1
Purchase a skin. Visit various websites that sell credit card skins and select your favorite.
Video of the Day
Step 2
Design your credit card skin in Adobe Photoshop. Use clip art or photos. Print a test sheet on plain paper to see if you like the finished product. Then print the final design on T-shirt transfer paper.
Step 3
Cut out the picture carefully. Take your time, patience is the key to an awesome finished product.
Step 4
Peel the front sheet off the transfer paper and glue it to the front of your credit card with a spray-on mounting glue. Use a knitting needle to push the paper into the holes within the numbers and letters.
Step 5
Place a sheet of ironing paper over your card and iron it on a low setting for 30 seconds. Any longer will warp the card.
Step 6
Using the flat edge of an exacto knife, trim any remaining paper from the edge of your credit card.
Step 7
Repeat these steps on your other credit cards. Let your imagination run wild and use a different design for each card.
Things You'll Need
Adobe Photoshop
T shirt transfer paper
Spray on mounting glue
Knitting needle
Iron and ironing paper
Exacto knife
Video of the Day