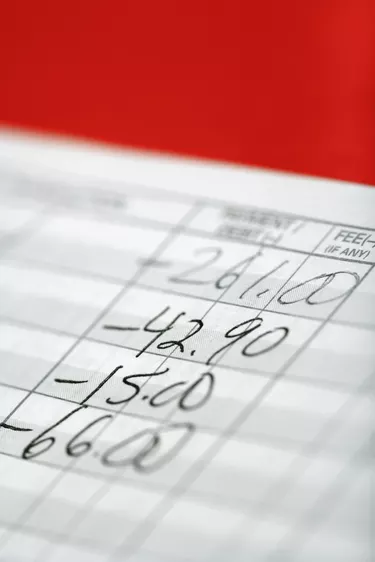
A personal ledger functions the same way a checkbook register does. The basic personal ledger uses a single-entry accounting system where income and expenses are handled from a single account. Income is added, which credits the account, while expenses are debited from the account. Ledgers can be bought or created using computer software. Two columns are necessary for a basic ledger to enter transaction dates and descriptions, and two more columns for credits and debits.
Step 1
Record the date of the transaction in the first column. The date is written to the left so that transaction history can be easily reviewed by date. Pick a date recording style and stick to it for the entire ledger. For example, if the year, month and day are written in that order, continue doing so to avoid confusion when searching for a transaction later on.
Video of the Day
Step 2
Record a description of the transaction to the right of the date in the same row. The description should be brief but still provide enough information to know what the transaction was. For example, "Gasoline Phoenix, AZ."
Step 3
Determine if the item recorded is a credit or a debit. A credit adds funds, while a debit subtracts them. In this example, a gasoline expense is a debit, and the amount would be recorded in the left column. If the item is a credit, skip over the debit column and record the amount in the next column.
Step 4
Determine an accounting period to balance the ledger, e.g., monthly. At the end of each accounting period, total the ledger's credits and debits. Compare the totals with bank statements, receipts or other forms of financial records to ensure that the ledger account is accurate and up to date will all current financial information.
Step 5
Carry over the balance of the account to the new accounting period. Write the carryover balance in the right column, as the carryover balance is considered a credit.
Video of the Day